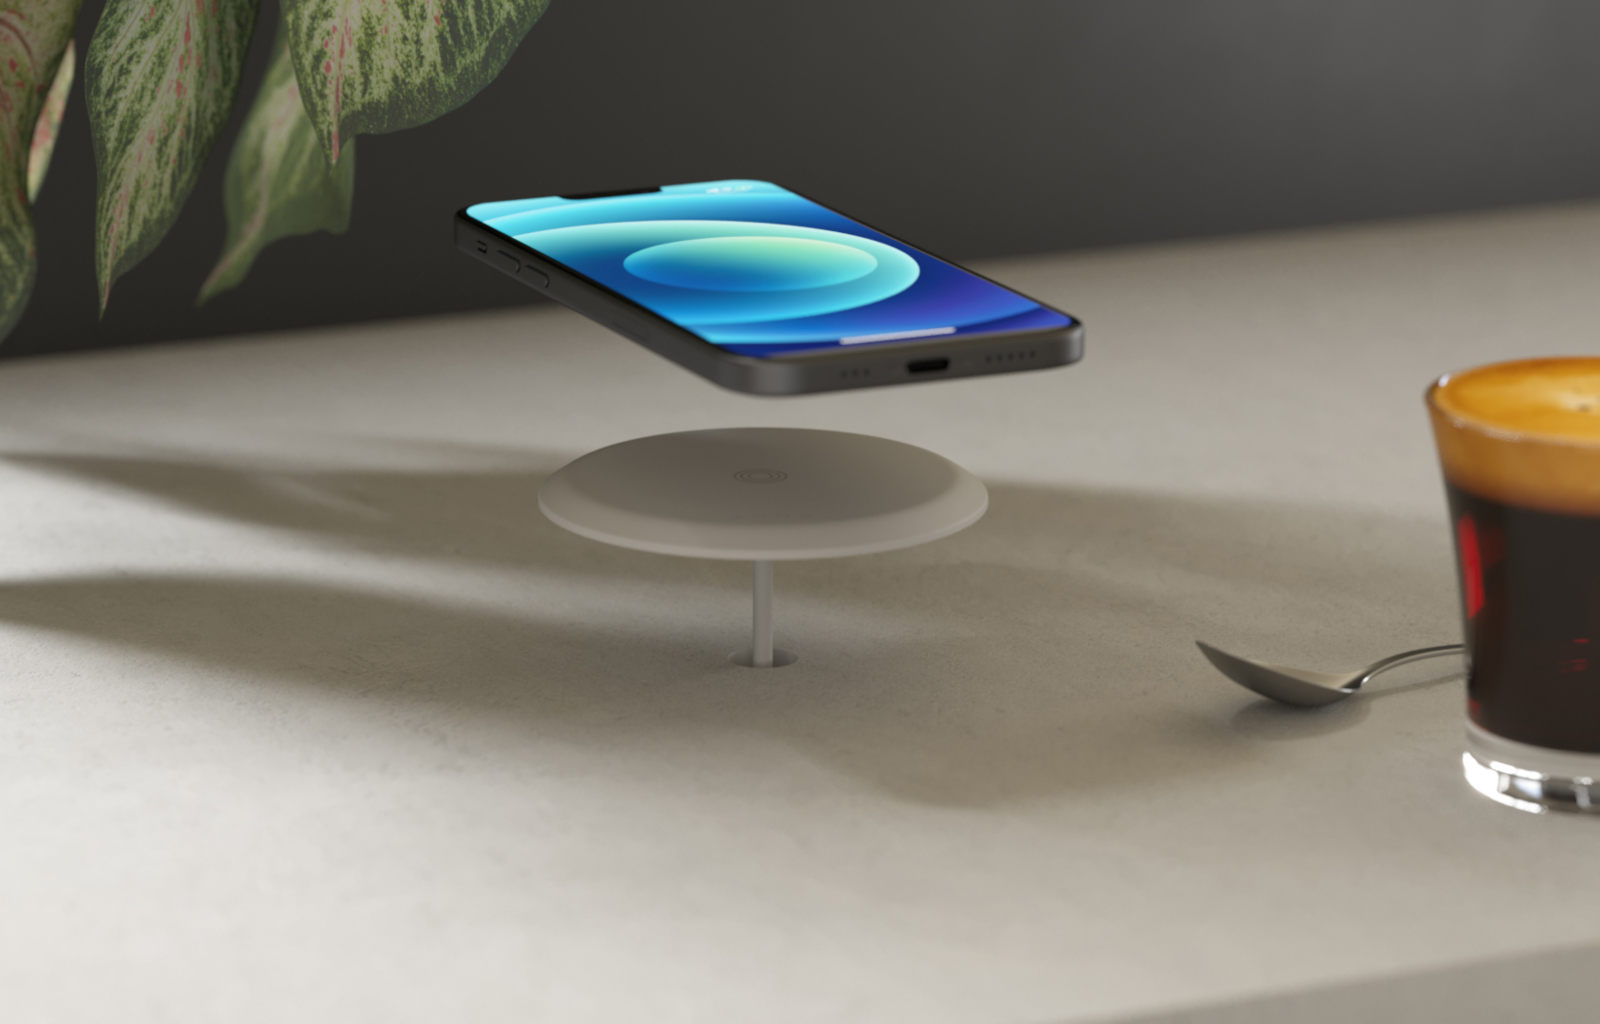
Wireless chargers have revolutionized the way we power our devices by eliminating the hassle of dealing with tangled cords and finding the right plug. Integrating a wireless charger into your table not only enhances the aesthetics of your home decor but also adds convenience to your everyday life. In this article, we will guide you through the process of installing a wireless charger in table, so you can enjoy a clutter-free and contemporary charging solution.
Materials Needed
Before you begin the installation process, make sure to gather the following materials:
- Wireless charging pad
- Drill
- Spade bit
- Router
- Power strip/surge protector
- Measuring tape
- Marker
- Screws
- Screwdriver
- Cord management clips
Step-by-Step Installation Guide
Follow these steps to seamlessly install a wireless charger in your table:
- Choose the location: Decide where you want to place the wireless charger on your table. Make sure it is easily accessible to all members of the household.
- Measure and mark: Use a measuring tape to determine the exact placement of the wireless charger. Mark the dimensions with a marker.
- Drill the hole: Use a drill with a spade bit to create a hole in the marked area. Make sure the hole is the right size to accommodate the wireless charging pad.
- Route the power cord: Use a router to create a channel underneath the table for the power cord to pass through. This will help keep the cord hidden and provide a clean look.
- Install the wireless charging pad: Place the wireless charging pad in the hole you drilled earlier. Secure it in place with screws to ensure it stays fixed.
- Connect the power cord: Pass the power cord through the channel you created with the router. Connect it to a power strip or surge protector underneath the table.
- Organize the cord: Use cord management clips to secure the power cord along the underside of the table. This will prevent tangles and keep the cord out of sight.
- Test the charger: Before finishing up, test the wireless charger to make sure it is functioning correctly. Place a compatible device on the charging pad to see if it charges successfully.
- Final touches: Once you have confirmed that the wireless charger is working, tidy up any loose cords and ensure everything is secured in place.
Tips for a Seamless Installation
Consider the following tips to ensure a smooth and successful installation:
- Choose a wireless charging pad that fits the dimensions of your table and complements its design.
- Make sure the wireless charger is compatible with your devices to avoid any compatibility issues.
- Take your time during the installation process to avoid any mistakes or damage to the table.
- Use a power strip or surge protector to easily turn the wireless charger on and off as needed.
- Keep the wireless charger away from any liquids or heat sources to prevent damage to the device.
- Consider adding additional wireless chargers to other tables in your home for a cohesive charging solution.
Benefits of Installing a Wireless Charger in Your Table
Here are some of the benefits you can enjoy by integrating a wireless charger into your table:
- Convenience: Say goodbye to fumbling with cords and searching for the right plug. With a wireless charger in your table, charging your devices becomes effortless and hassle-free.
- Clean look: A wireless charger eliminates the need for visible cords and plugs, giving your table a sleek and modern appearance.
- Space-saving: By integrating the charger into your table, you free up space on the table's surface and reduce clutter caused by cords.
- Efficiency: Wireless chargers are designed to charge your devices quickly and efficiently, ensuring your devices are always ready to use.
Upgrade your home decor and simplify your charging routine by installing a wireless charger in your table. Follow the step-by-step guide and tips provided in this article to create a seamless and stylish charging solution that enhances both the functionality and aesthetics of your space.